DIY Big Peg Board Shelving System
Written by: Arron J. Staff writer @ Hyggehous.com
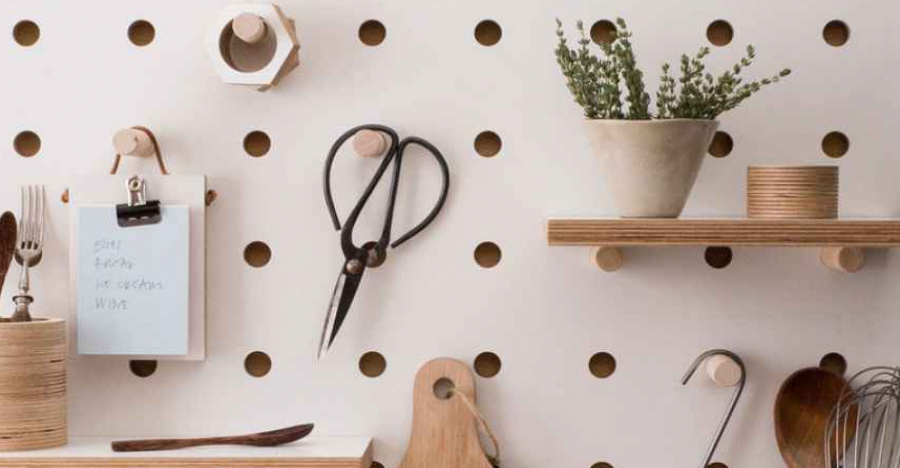
Photo Gallery
Want to learn some new woodworking techniques and need simple DIY wood projects to start with?
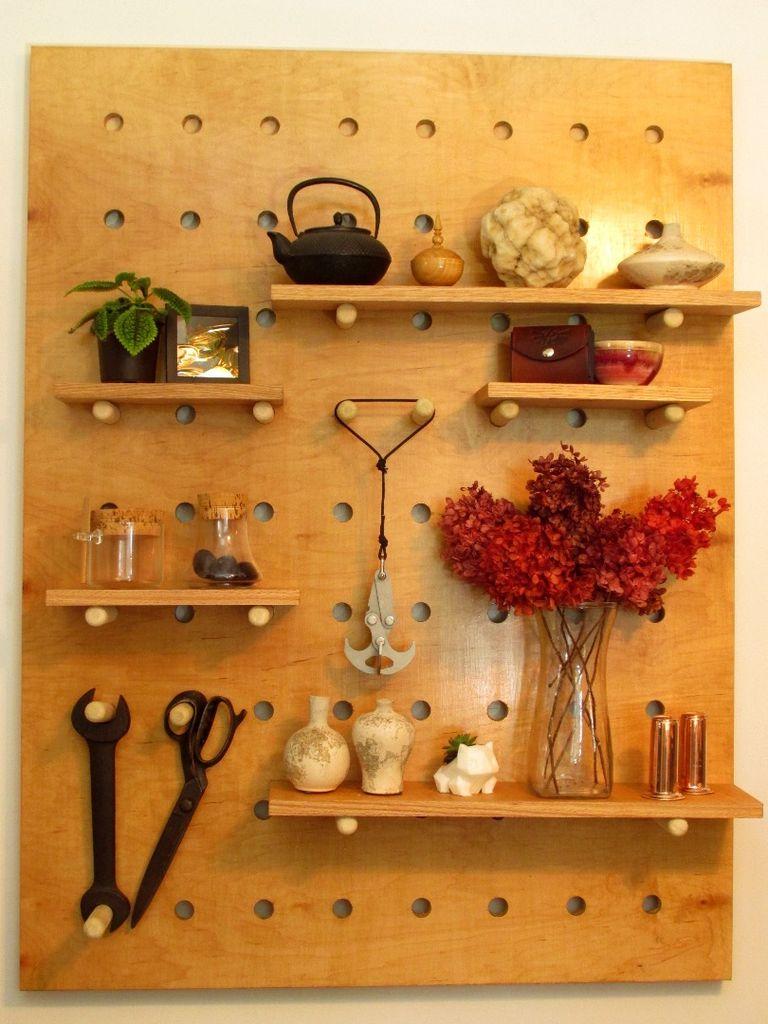
This DIY big pegboard shelving system is for you. It’s quick and easy to make, and you can turn any boring wall into a whole new point of interest with it. Better yet, the pegs allow you to reorganize these shelves to your heart’s content. Shop Tiny Homes If things change, you can easily rearrange them into something that works better for you. The first thing you’ll want to do before making these DIY shelves is to pay a visit to your local hardware store, to stock up on all of the woodworking materials you will need. If you have to start your supplies from scratch, this shelving project will cost approximately $60 US, but if you already have some of the equipment, like glue, screws, and wood finish, you could possibly build it for half of that, or less.
Some of the tools you will need to build your peg shelving unit are a table saw or a circular saw, a drill and a drill guide if possible, a stud finder, a sander, a paint roller, a straight edge, a tape measure, and a pneumatic nailer could come in very handy too.
If you don’t own a pneumatic nailer, of course, the traditional hammer and nails will do just as well, although the woodworking project might take slightly longer.
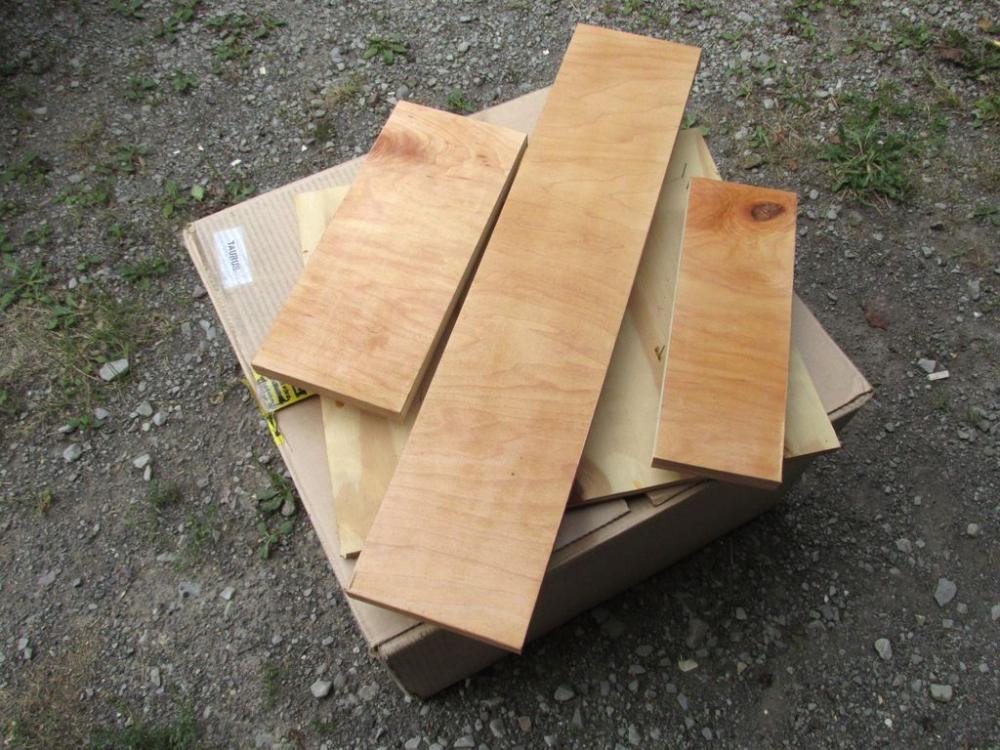
For the materials all you need is a 4 X 4 Sheet of 3/4" Plywood, 1" Dowel Rod, wood for shelving that's at least 5", six 1/4" X 2.5" Lag Screws and Washers, Polyurethane or paint, 1 1/4" Screws, Wood Glue, Edge Banding, and all of the tools listed above.
To start out, you'll make the first cuts of your plywood to create a piece that is 48" X 36" and another that is 48" by 12". The larger piece is going to be the pegboard and the smaller piece will be used later to make a French Cleat that mounts the pegboard to the wall.
Once you have all of your cut piece of wood you'll draw out a grid layout on the board to create the peg slots.
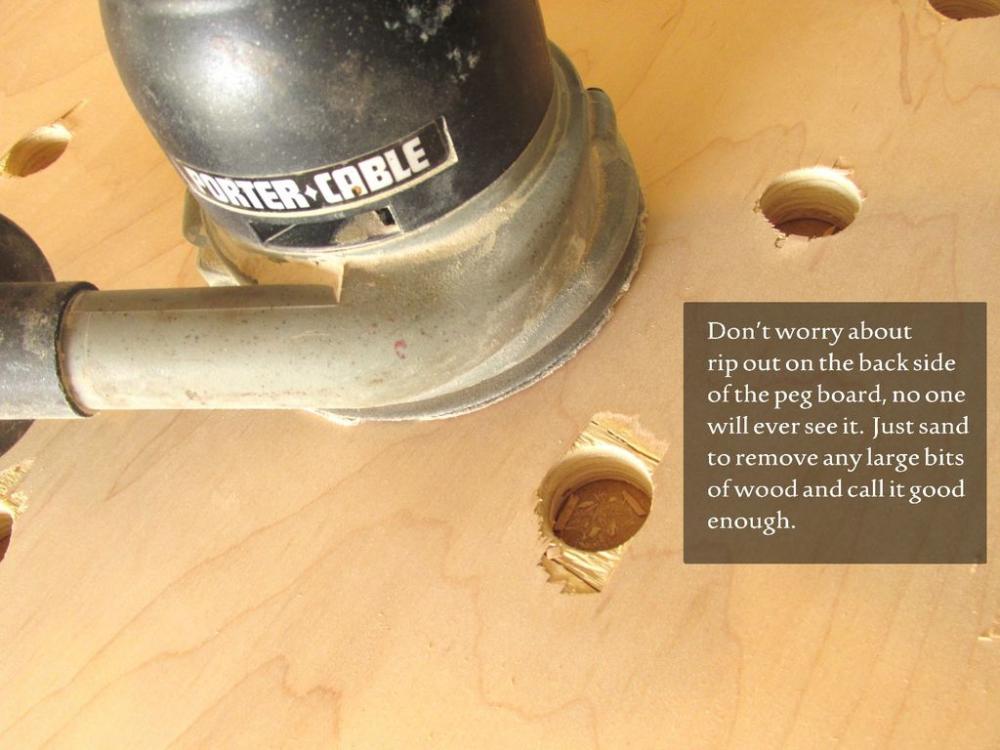
Make a 4" wide border around the edges of the large piece of plywood then mark lines every 5 inches vertically and every 4 inches horizontally. You will then drill 72 holes on the points all over the larger piece of board to create all of the peg holes. Once all of the holes have been drilled you can then get out your sander and sand down the front of the pegboard to smooth it out.
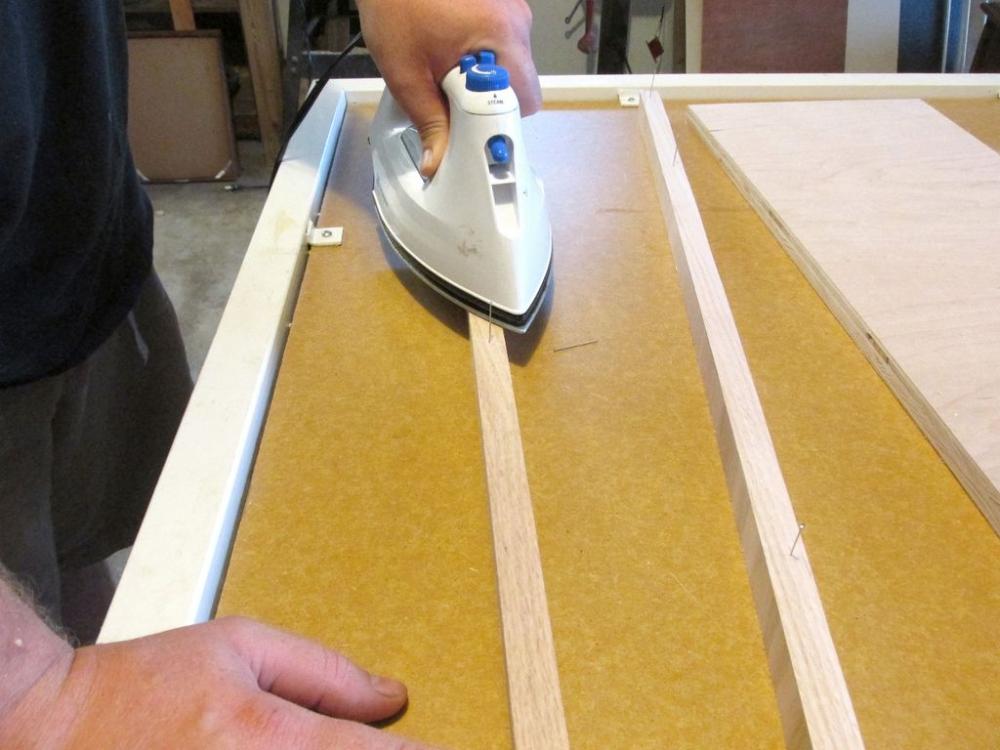
If you want nice looking edges you can then put on the Edge Banding around the edges of the board.
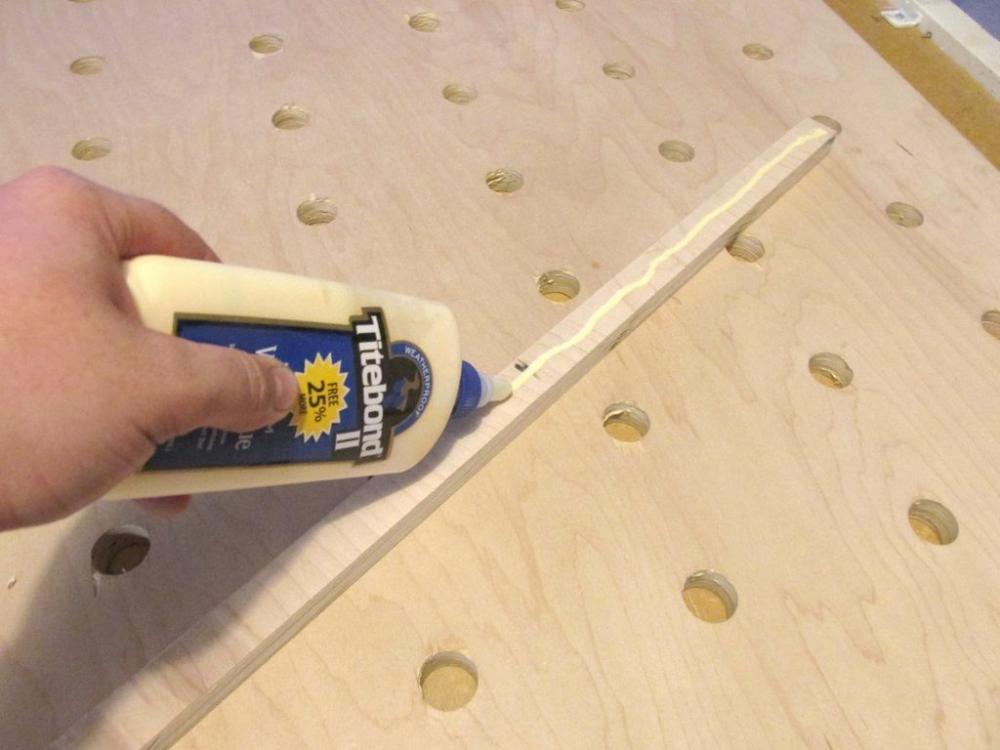
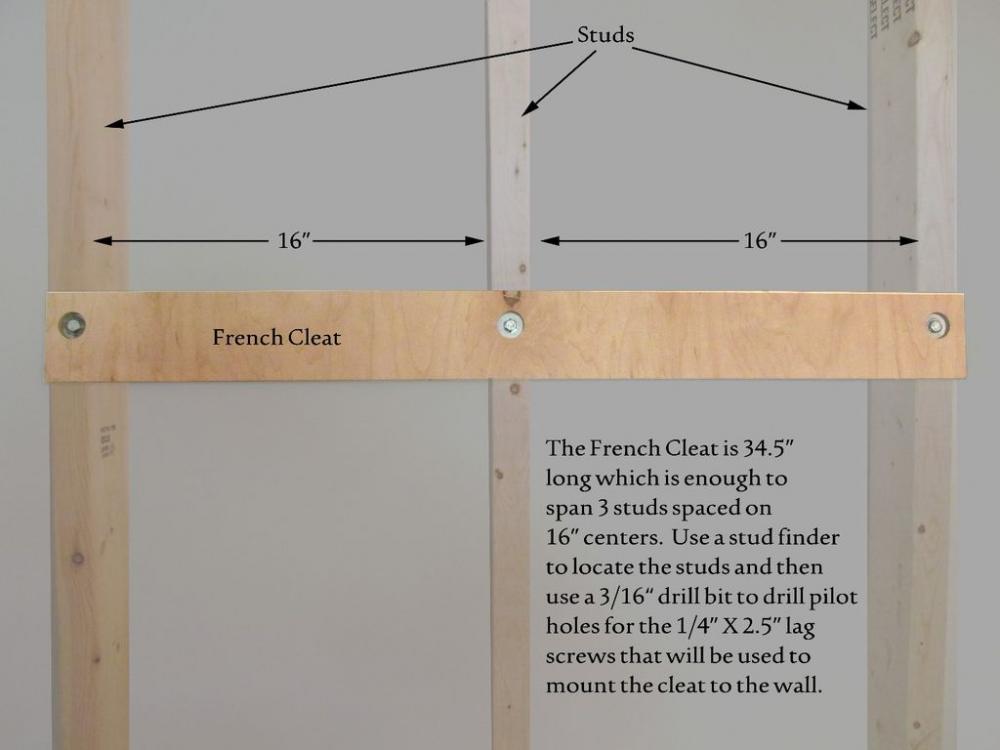
Next up, you are going to create the aprons that will fill the space between the wall and the pegboard. Just cut two 1 inch wide lengths from the 48" X 12" piece of plywood and then glue or nail them on the back sides of the pegboard. After that's all done you can stain and finish your piece or you can paint it any colour you like. Then You'll cut and attach the French Cleat by cutting a board at a 30 to 40-degree angle then mount one half of the board to the back of the shelf so that the 30 to 40-degree cut is facing away from the piece.
The other side is mounted to the wall.
Then you can make your pegs by cutting the 1-inch dowel into appropriate lengths for what you'll use them for. Then all that's left is to make the shelves by cutting the wood to the sizes you want them to be and then installing the shelf on the wall to the studs in your wall using the French Cleats you've created. Once it's all installed, you can add your pegs, shelves and anything that you want to hang or place on them.

