Simple Off Grid Cabin That Anyone Can Build & Afford
Written by: Arron J. Staff writer @ Hyggehous.com
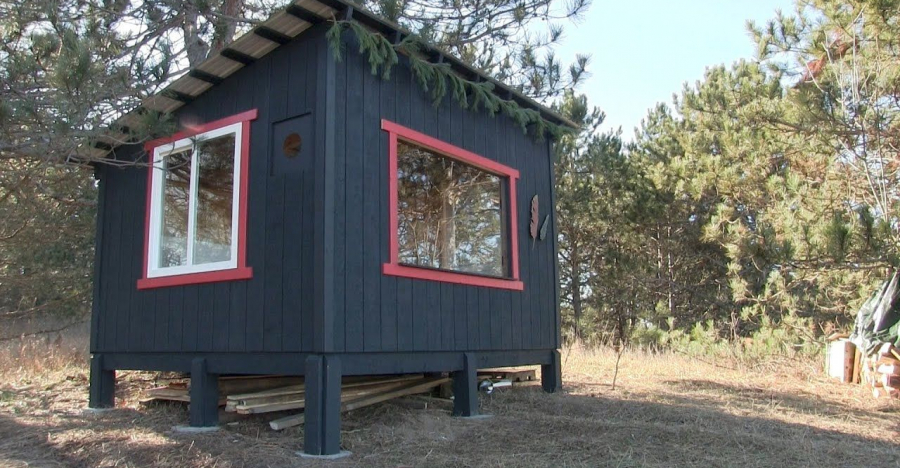
Photo Gallery
.png)
In this video, you'll see how one couple builds a very simple, very affordable tiny cabin.
With a simple single pitch roof and only 2 windows. While the owner was filming this building project so was his wife Brooke. You can check out her first video featuring this cabin building by clicking the link in the video. Shop Tiny Homes The video shows how building a tiny cabin such as this doesn't have to be complicated or expensive. It's a very informative video that takes you through the steps of a tiny cabin building.
The first thing you have to do when building an off-grid tiny cabin is to choose the building site.
You might select a location where there are no obstructions and good views of the surrounding property. You'll want to think about where the sun rises and sets to take advantage of passive heating and cooling. Next, you will want to clear the site, get rid of any branches or brush, you want the site to feel inspired where you want the cabin to go. Then you will pick your dig in your foundation. You'll start with your first tiny house corner and begin from there. This foundation is the least expensive sort of foundation and uses concrete footing pads. This foundation only costs about $20.
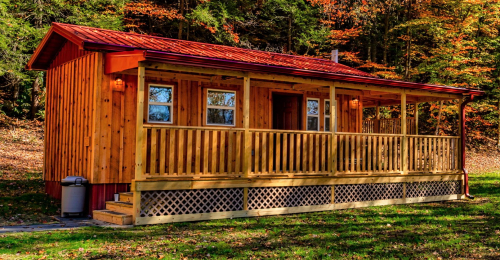
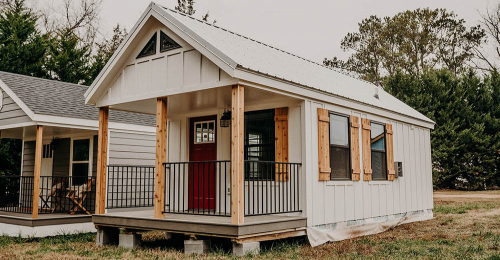
This tiny cabin is going to be 10 feet by 12 feet with a single pitched roof.
The back wall is going to be 10 feet and the front wall is going to be 8 feet high. Next, you will be ready to start building the floor. It's just a matter of building a simple box. Altogether the total dimensions will be 10 feet by 12 feet. Once the frame of the floor is built you will want to make sure that it is level. When the floor joists are in you will want to nail them all in. Galvanized nails have better-grabbing power. The floor will be insulated, covered by treated plywood which will later be painted.
After the floor is done you will begin working on putting up the walls.
Once a wall is up make sure it is flush, set a brace, and nail. This is really where the tiny house begins to take shape. The next wall is one with a picture window which will be explained better in the video. When standing up a wall, always push up and not away from you. Lift straight up. Next, the rafter will be hammered in.
Two walls are up, and the roof is in place, just in case of any bad weather.
The end walls are a whole different setup for this type of building. The third and the fourth wall siding gets put up, and the tiny house is looking and feeling more and more like home. After everything is up, you will want to stain the wood, but you'll want to make sure that everything is absolutely dry, as you don't want to stain wet wood. Watch the full video for all the details.

.png)
.png)
.png)
.png)
.png)
.png)
